

How do I replace the batteries in solar led lawn bollard lights?
Leave a message

Hey there! As a supplier of Led Lawn Bollard Lights, I often get asked about how to replace the batteries in solar LED lawn bollard lights. It's actually a pretty straightforward process, but I know it can seem a bit intimidating if you've never done it before. So, I thought I'd put together this blog post to walk you through the steps.
Why Replace the Batteries?
First off, you might be wondering why you even need to replace the batteries in your solar LED lawn bollard lights. Well, like all batteries, the ones in these lights have a limited lifespan. Over time, they'll start to lose their ability to hold a charge, which means your lights won't shine as bright or stay on as long. By replacing the batteries, you can keep your lights working at their best and ensure they continue to illuminate your outdoor space beautifully.

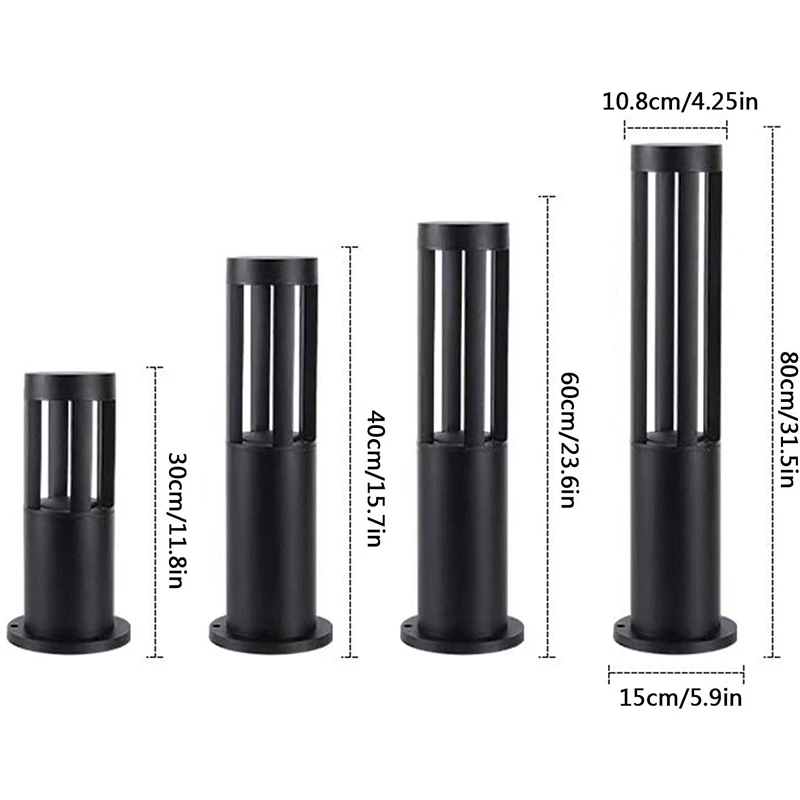
What You'll Need
Before you get started, you'll need a few things:
- New batteries: Make sure you get the right type and size of batteries for your lights. Most solar LED lawn bollard lights use rechargeable Ni-Cd or Ni-MH batteries. You can usually find this information in the product manual or on the manufacturer's website.
- A small Phillips head screwdriver: This will be used to open the battery compartment of the light.
- Gloves: Optional, but they can help protect your hands from any dirt or debris.
Step-by-Step Guide
Now that you have everything you need, let's get started!
- Locate the battery compartment: This is usually located at the base or bottom of the light. It might be covered by a small panel or cap.
- Open the battery compartment: Use the Phillips head screwdriver to remove the screws holding the panel or cap in place. Set the screws aside in a safe place so you don't lose them.
- Remove the old batteries: Carefully take out the old batteries from the compartment. Pay attention to the orientation of the batteries, as you'll need to insert the new ones in the same way.
- Insert the new batteries: Take the new batteries and insert them into the compartment, making sure they're facing the right way. If you're not sure, refer to the markings inside the compartment or the product manual.
- Close the battery compartment: Once the new batteries are in place, put the panel or cap back on and secure it with the screws. Make sure it's tightly closed to prevent any water or moisture from getting in.
- Test the lights: After replacing the batteries, give the lights a quick test to make sure they're working properly. Place the lights in a sunny spot for a few hours to let the batteries charge, and then turn them on at night to see if they light up.
Tips and Tricks
Here are a few tips to make the process even easier:
- Check the warranty: Before you replace the batteries, check the warranty of your lights. Some manufacturers offer free battery replacements or repairs within a certain period of time.
- Clean the battery compartment: While you have the battery compartment open, take a moment to clean it out. Use a soft brush or cloth to remove any dirt, dust, or debris that might have accumulated.
- Store the old batteries properly: Rechargeable batteries should be recycled to prevent environmental damage. Check your local recycling center or electronics store for information on how to recycle them safely.
Troubleshooting
If you're having trouble replacing the batteries or the lights aren't working after the replacement, here are a few things to check:
- Battery compatibility: Make sure you're using the right type and size of batteries for your lights. Using the wrong batteries can damage the lights or prevent them from working properly.
- Battery charge: If the lights aren't working, it could be because the batteries aren't fully charged. Make sure the lights are getting enough sunlight during the day to charge the batteries.
- Water damage: If the battery compartment or the lights have been exposed to water or moisture, it could cause damage to the batteries or the electrical components. Check for any signs of water damage, such as rust or corrosion, and replace any damaged parts if necessary.
Conclusion
Replacing the batteries in solar LED lawn bollard lights is a simple and easy process that can help keep your lights working at their best. By following these steps and tips, you can ensure that your lights continue to illuminate your outdoor space for years to come.
If you're interested in purchasing Outdoor Garden Solar Led Lawn Bollard Lights or Landscape Lawn Light, feel free to reach out to us. We're a leading supplier of high-quality LED lighting products, and we'd be happy to help you find the perfect lights for your needs.
References
- Product manuals and instructions provided by the manufacturer.
- Online resources and forums for solar LED lighting.


